Installing floor granite in a neat and sturdy manner requires special attention. Granite not only provides an elegant and modern look but also offers exceptional durability. However, to achieve the best results, the installation process must be done correctly.
This article will discuss the essential steps for proper floor granite installation, from tool preparation to finishing, to make your home's floor look perfect.
Correct Floor Granite Installation Steps
1. Prepare Tools and Materials
Before starting the installation of grout-free granite, the first thing to do is prepare all the necessary tools and materials. The equipment used is generally the same as what is used for regular floor installations. Some materials to prepare include cement, sand, water, and tools such as a trowel, rubber hammer, and others, depending on the specific needs of the job. Ensure all tools and materials are ready for use to ensure a smooth installation process.
2. Prepare the Cement Mixture
The cement mixture must have the right strength for the granite to adhere properly even without grout. The correct ratio of cement, sand, and water is crucial to ensure the ideal consistency. Make sure the cement mixture is thick enough when used for granite installation.
In addition to the traditional mixture, you can opt for ready-mix cement for more convenience. This mixture can be adjusted as needed, whether semi-wet or semi-dry. As a reference, the common ratio is 1 part sand to 3 parts cement, then adding a little water to create a thinner mixture. This process is an essential part of proper granite installation to ensure durability and strength.
3. Check the Condition of the Granite
Before starting the installation, it is important to check the condition of the granite. Ensure there are no damages such as cracks or scratches on the granite surface, as these can cause further damage during the installation process. Granite with cracks or scratches is at risk of breaking during installation, so this inspection is vital for ensuring optimal and durable installation results.
4. Create a Granite Pattern
In proper floor granite installation, creating a pattern is an important step that facilitates the installation process. Start by drawing a pattern from the center point of the room to make the granite installation more symmetrical. Then, for the sides or other areas, cut the granite according to the previously drawn pattern. This step ensures the granite installation looks neat and orderly, resulting in a more professional and aesthetic finish.
5. Apply the Cement Mixture
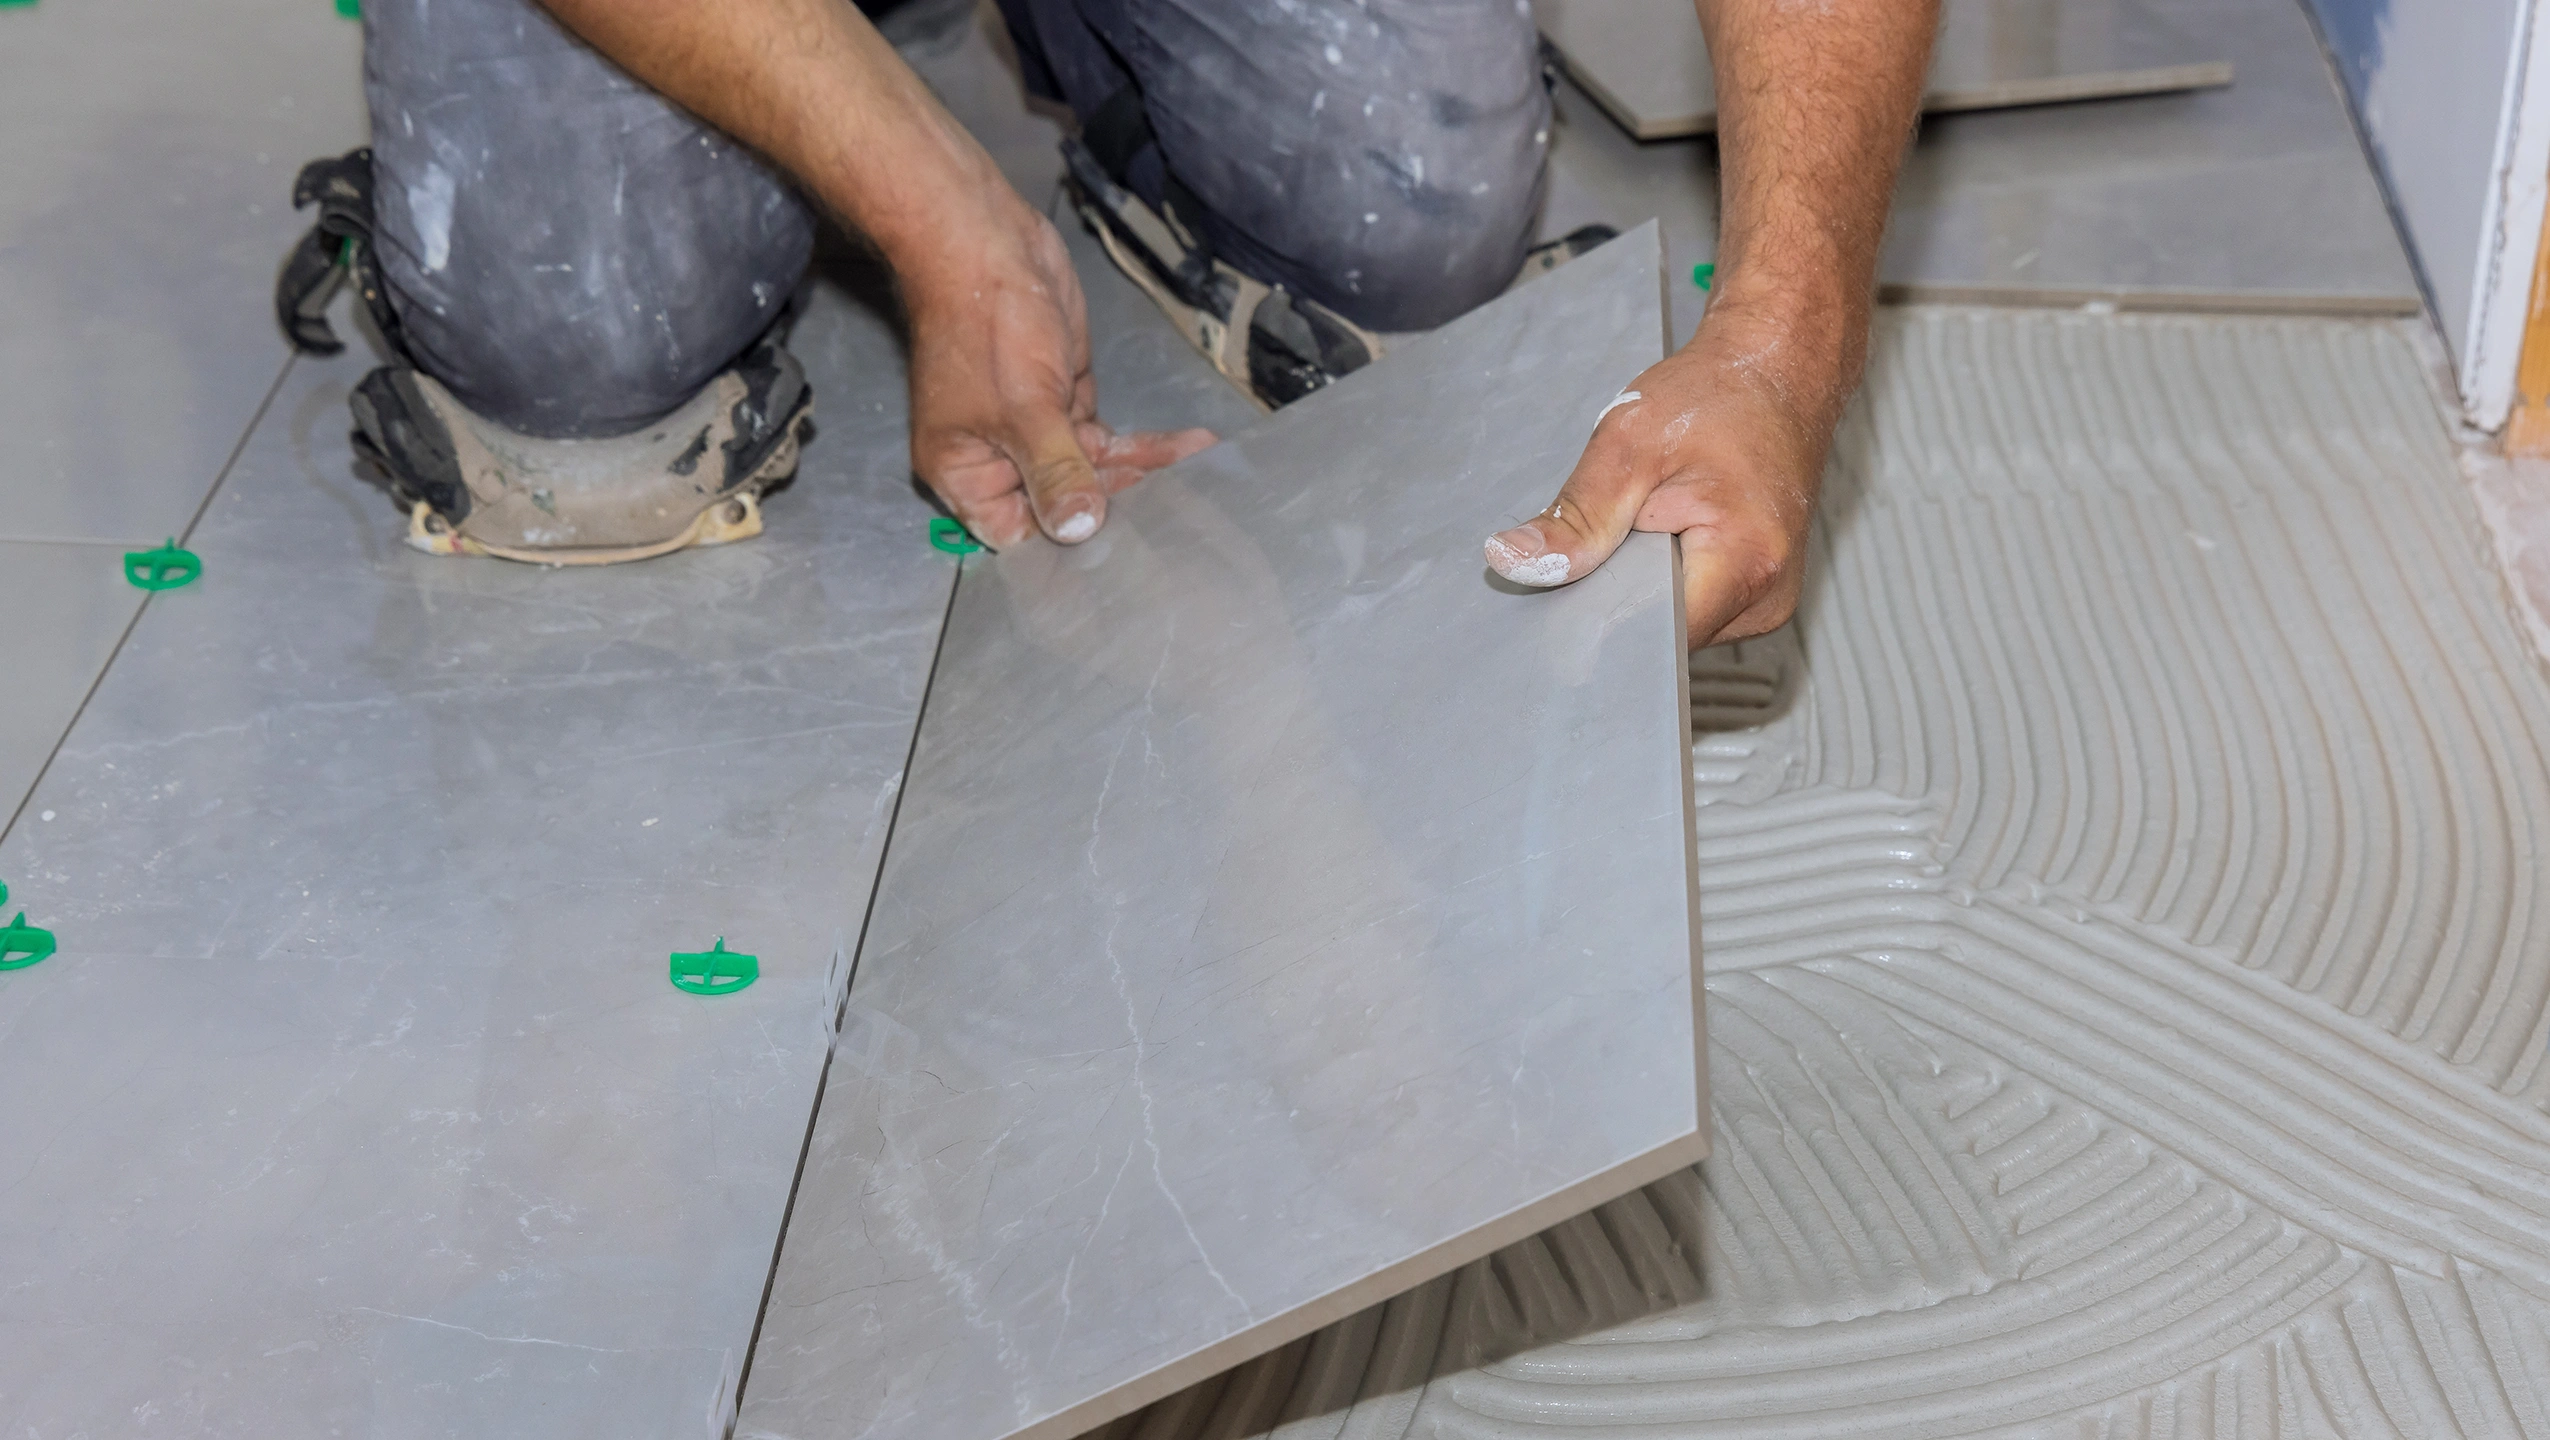
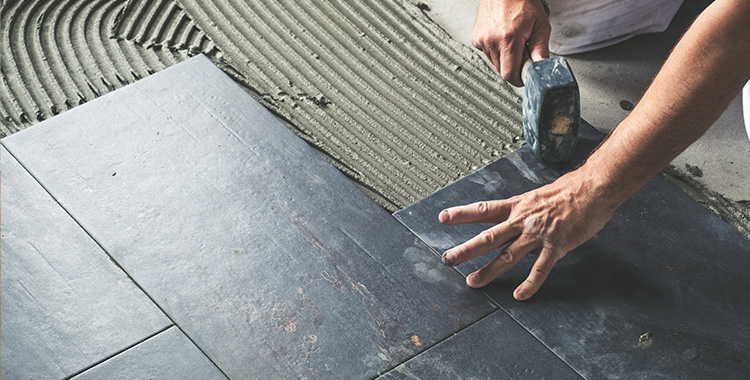
The next step in proper granite installation is to apply the cement mixture to the floor surface where the granite will be installed. Use a notched trowel to level the cement mixture, ensuring the thickness of the cement layer is adequate for the granite to bond well. When applying the cement mixture, ensure the notched end does not touch the floor to avoid creating voids beneath the granite. This is crucial to prevent the granite from becoming hollow or uneven, which could affect its durability and appearance.
6. Install the Granite
Once the previous steps are complete, the next step is to start placing the granite on the floor surface. Begin the installation vertically, then proceed horizontally. Ensure the granite is placed tightly with no gaps between each piece. The granite should be positioned in such a way that the joints are not visible.
To ensure an even and firm installation, use a rubber hammer and tap the granite gently to adjust its position with precision. The installation must be done carefully because rushing through it can result in poor adhesion.
After the granite is installed, test its firmness by tapping it with a spoon. If the sound is sharp, it means the granite is not solid and needs further compacting.
7. Finishing
Once the floor granite is installed, it's time for the finishing stage. Allow the granite to set for a while so the cement mixture can harden and bond strongly. Afterward, clean the surface of the granite from any remaining dirt or cement to ensure the granite remains clean and neat.
Proper floor granite installation not only enhances the look of your home but also extends the life of the granite itself. For even more impressive results, use Aesthetic MELIUZ granite, the perfect choice that combines beauty and durability. Get the best granite to create an elegant and long-lasting floor in your home!
Product Popular

SUPREME CREAM
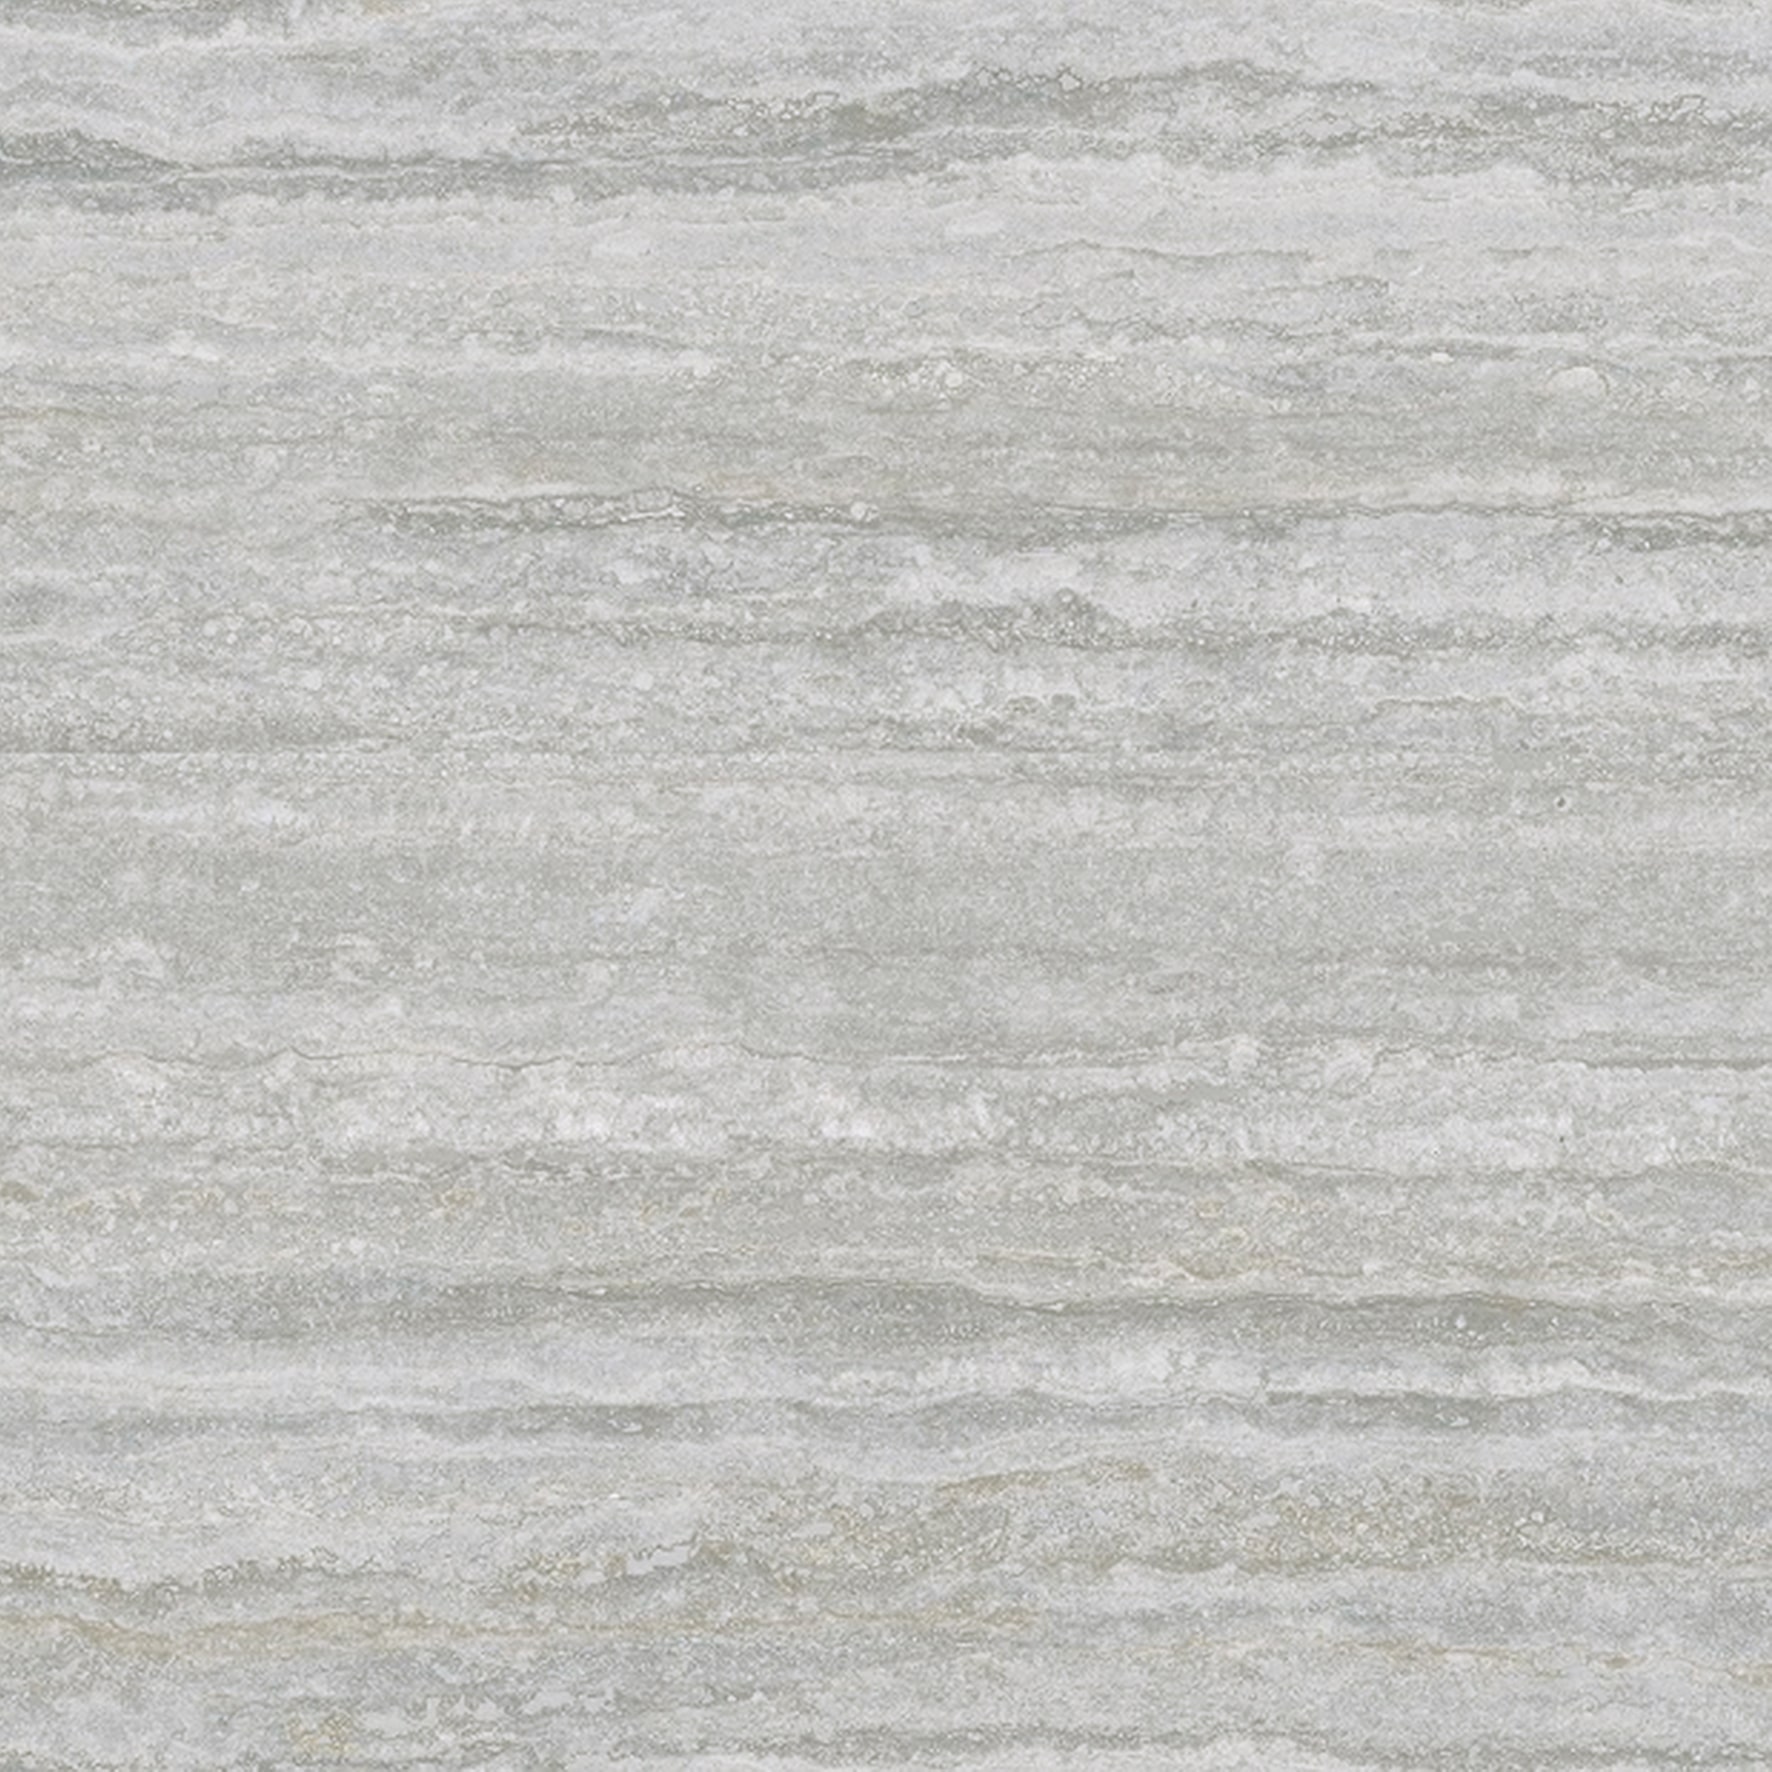
AEGRINE GREY
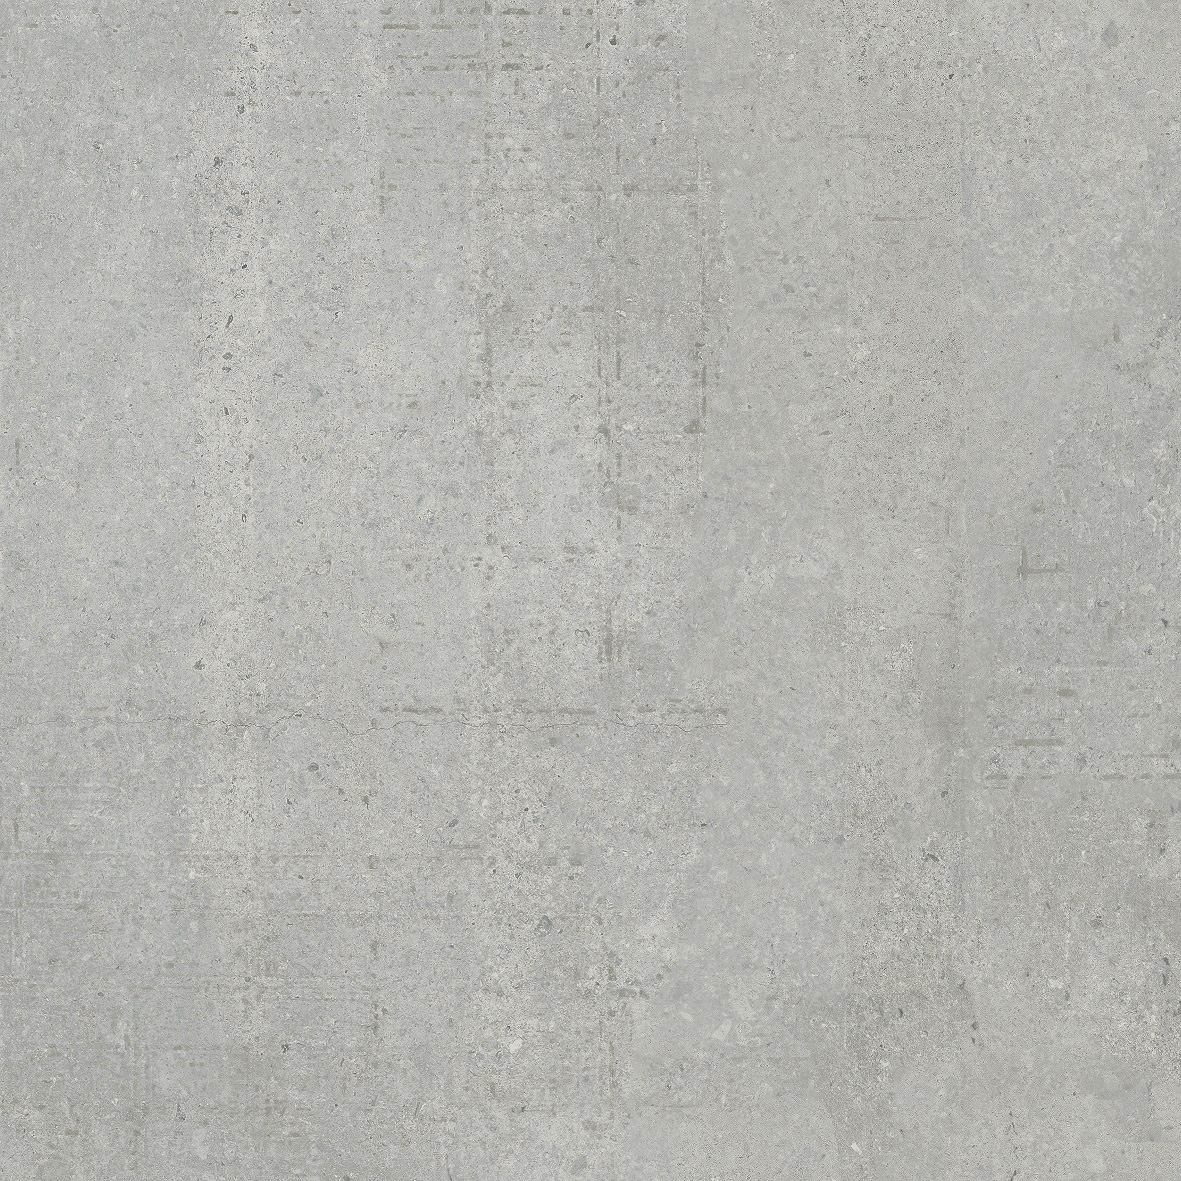
PASSO GREY

TERRASTONE GRIGIO


