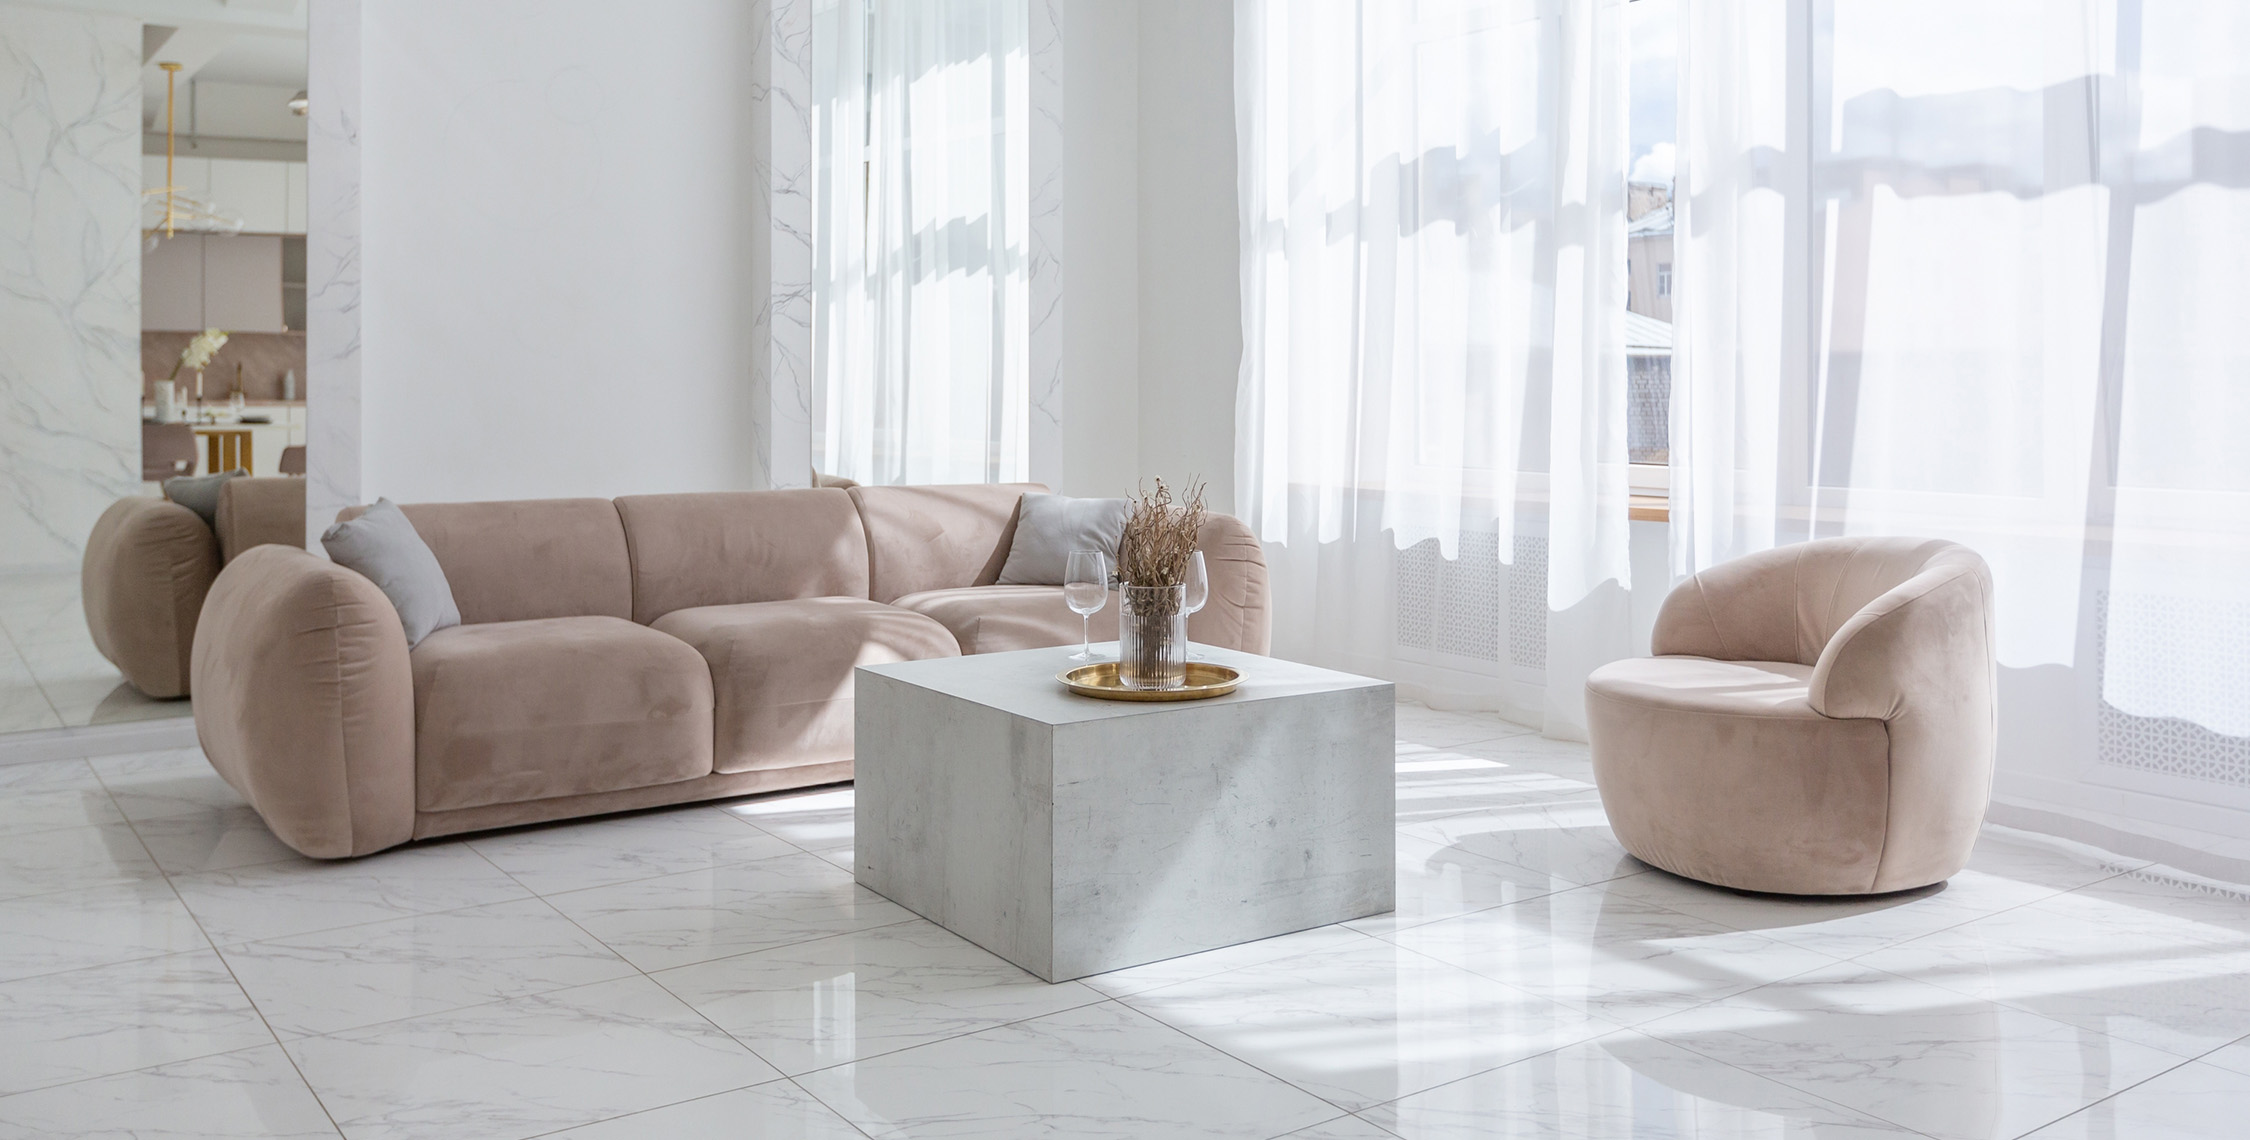

Choosing granite as a material for flooring or wall coverings is a great way to bring a luxurious and elegant feel to your home. However, to achieve the best results, it’s crucial to understand how to install granite properly, especially when using patterned granite with distinctive veins and textures.
Even minor installation mistakes can significantly affect the overall appearance of a room. That’s why paying close attention to technical details before and during installation is essential. This article outlines five key tips for installing patterned granite, so your final result is precise, neat, and visually stunning.
Tips for Precisely Installing Patterned Granite
Installing granite is not just about aesthetics, it’s also about precision and technique. To achieve a luxurious and uniform finish, several important factors must be considered. Here’s how to install granite so that its patterns and veins align perfectly, especially if you're working with visually complex designs.
1. Dry Lay Before Permanent Installation
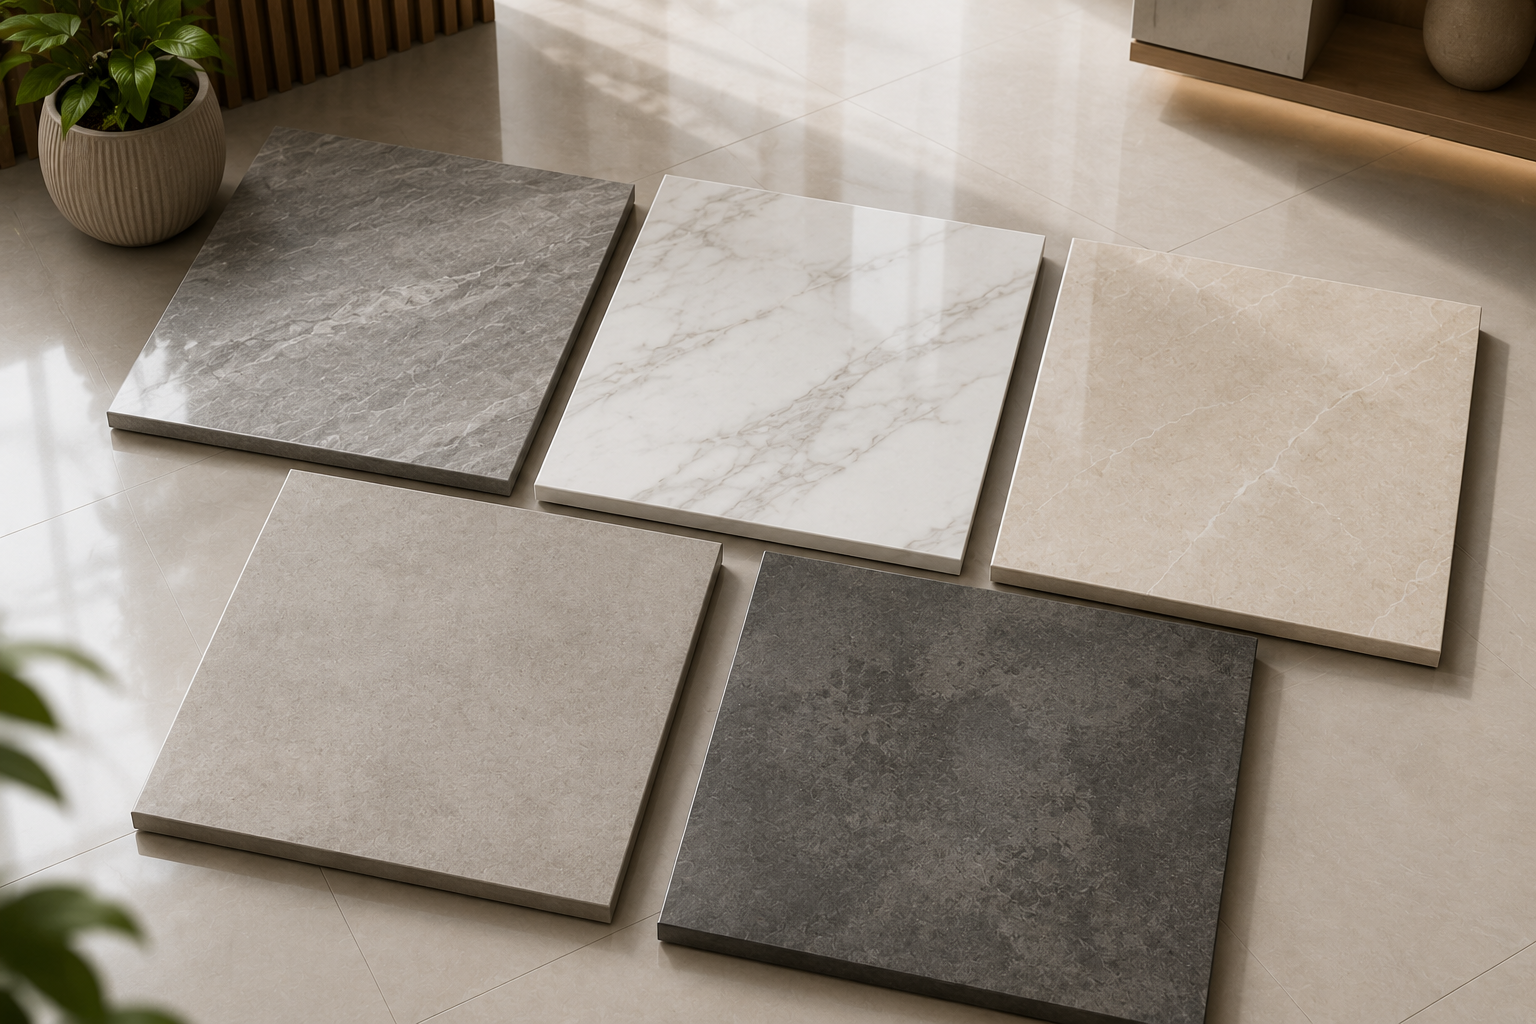
Before permanently installing the granite, it’s highly recommended to perform a dry lay, which means arranging all the slabs on the floor without adhesive. This allows you to plan out the most harmonious pattern and color flow.
Dry laying helps you visualize the final appearance and spot any stark differences in veining or tone between slabs. Use markers or small stickers to number each piece, making it easier to reassemble them in the correct order during the actual installation. This technique is essential when installing patterned granite, where visual continuity is key.
2. Pay Attention to Vein Direction and Bookmatching
As a natural stone, every granite slab has unique veins and textures. That’s why paying attention to the direction of the veins during installation is crucial. One ideal technique is bookmatching, which creates a mirrored, symmetrical look especially suitable for granite that mimics wood or marble.
Bookmatching involves placing two granite slabs side by side so that they mirror each other, like the pages of an open book. Ensure that all slabs follow a consistent vein direction to maintain an elegant and cohesive look. Misaligning the veins can disrupt the natural beauty of the granite.
3. Start Installation from the Center
For proper installation, the starting point is critical. Ideally, begin laying the granite from the center of the room, especially in large areas such as living rooms, lobbies, or halls. Use tools like laser levels or chalk lines to ensure the layout is straight and symmetrical.
Starting from the center helps maintain visual balance, particularly when using complex patterns like chevron or herringbone. In contrast, starting from the edge of a room may result in noticeable misalignment, especially in brightly lit spaces.
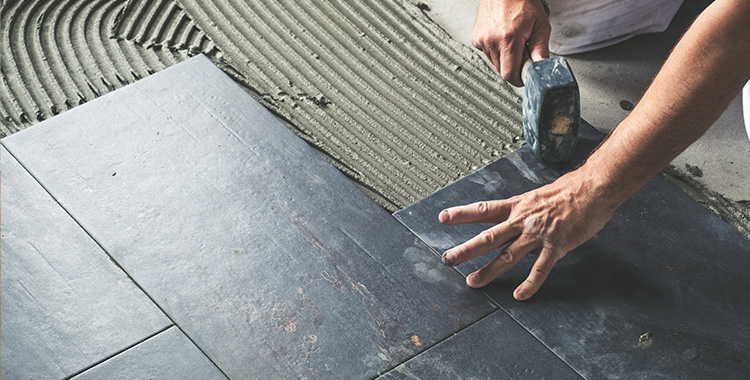
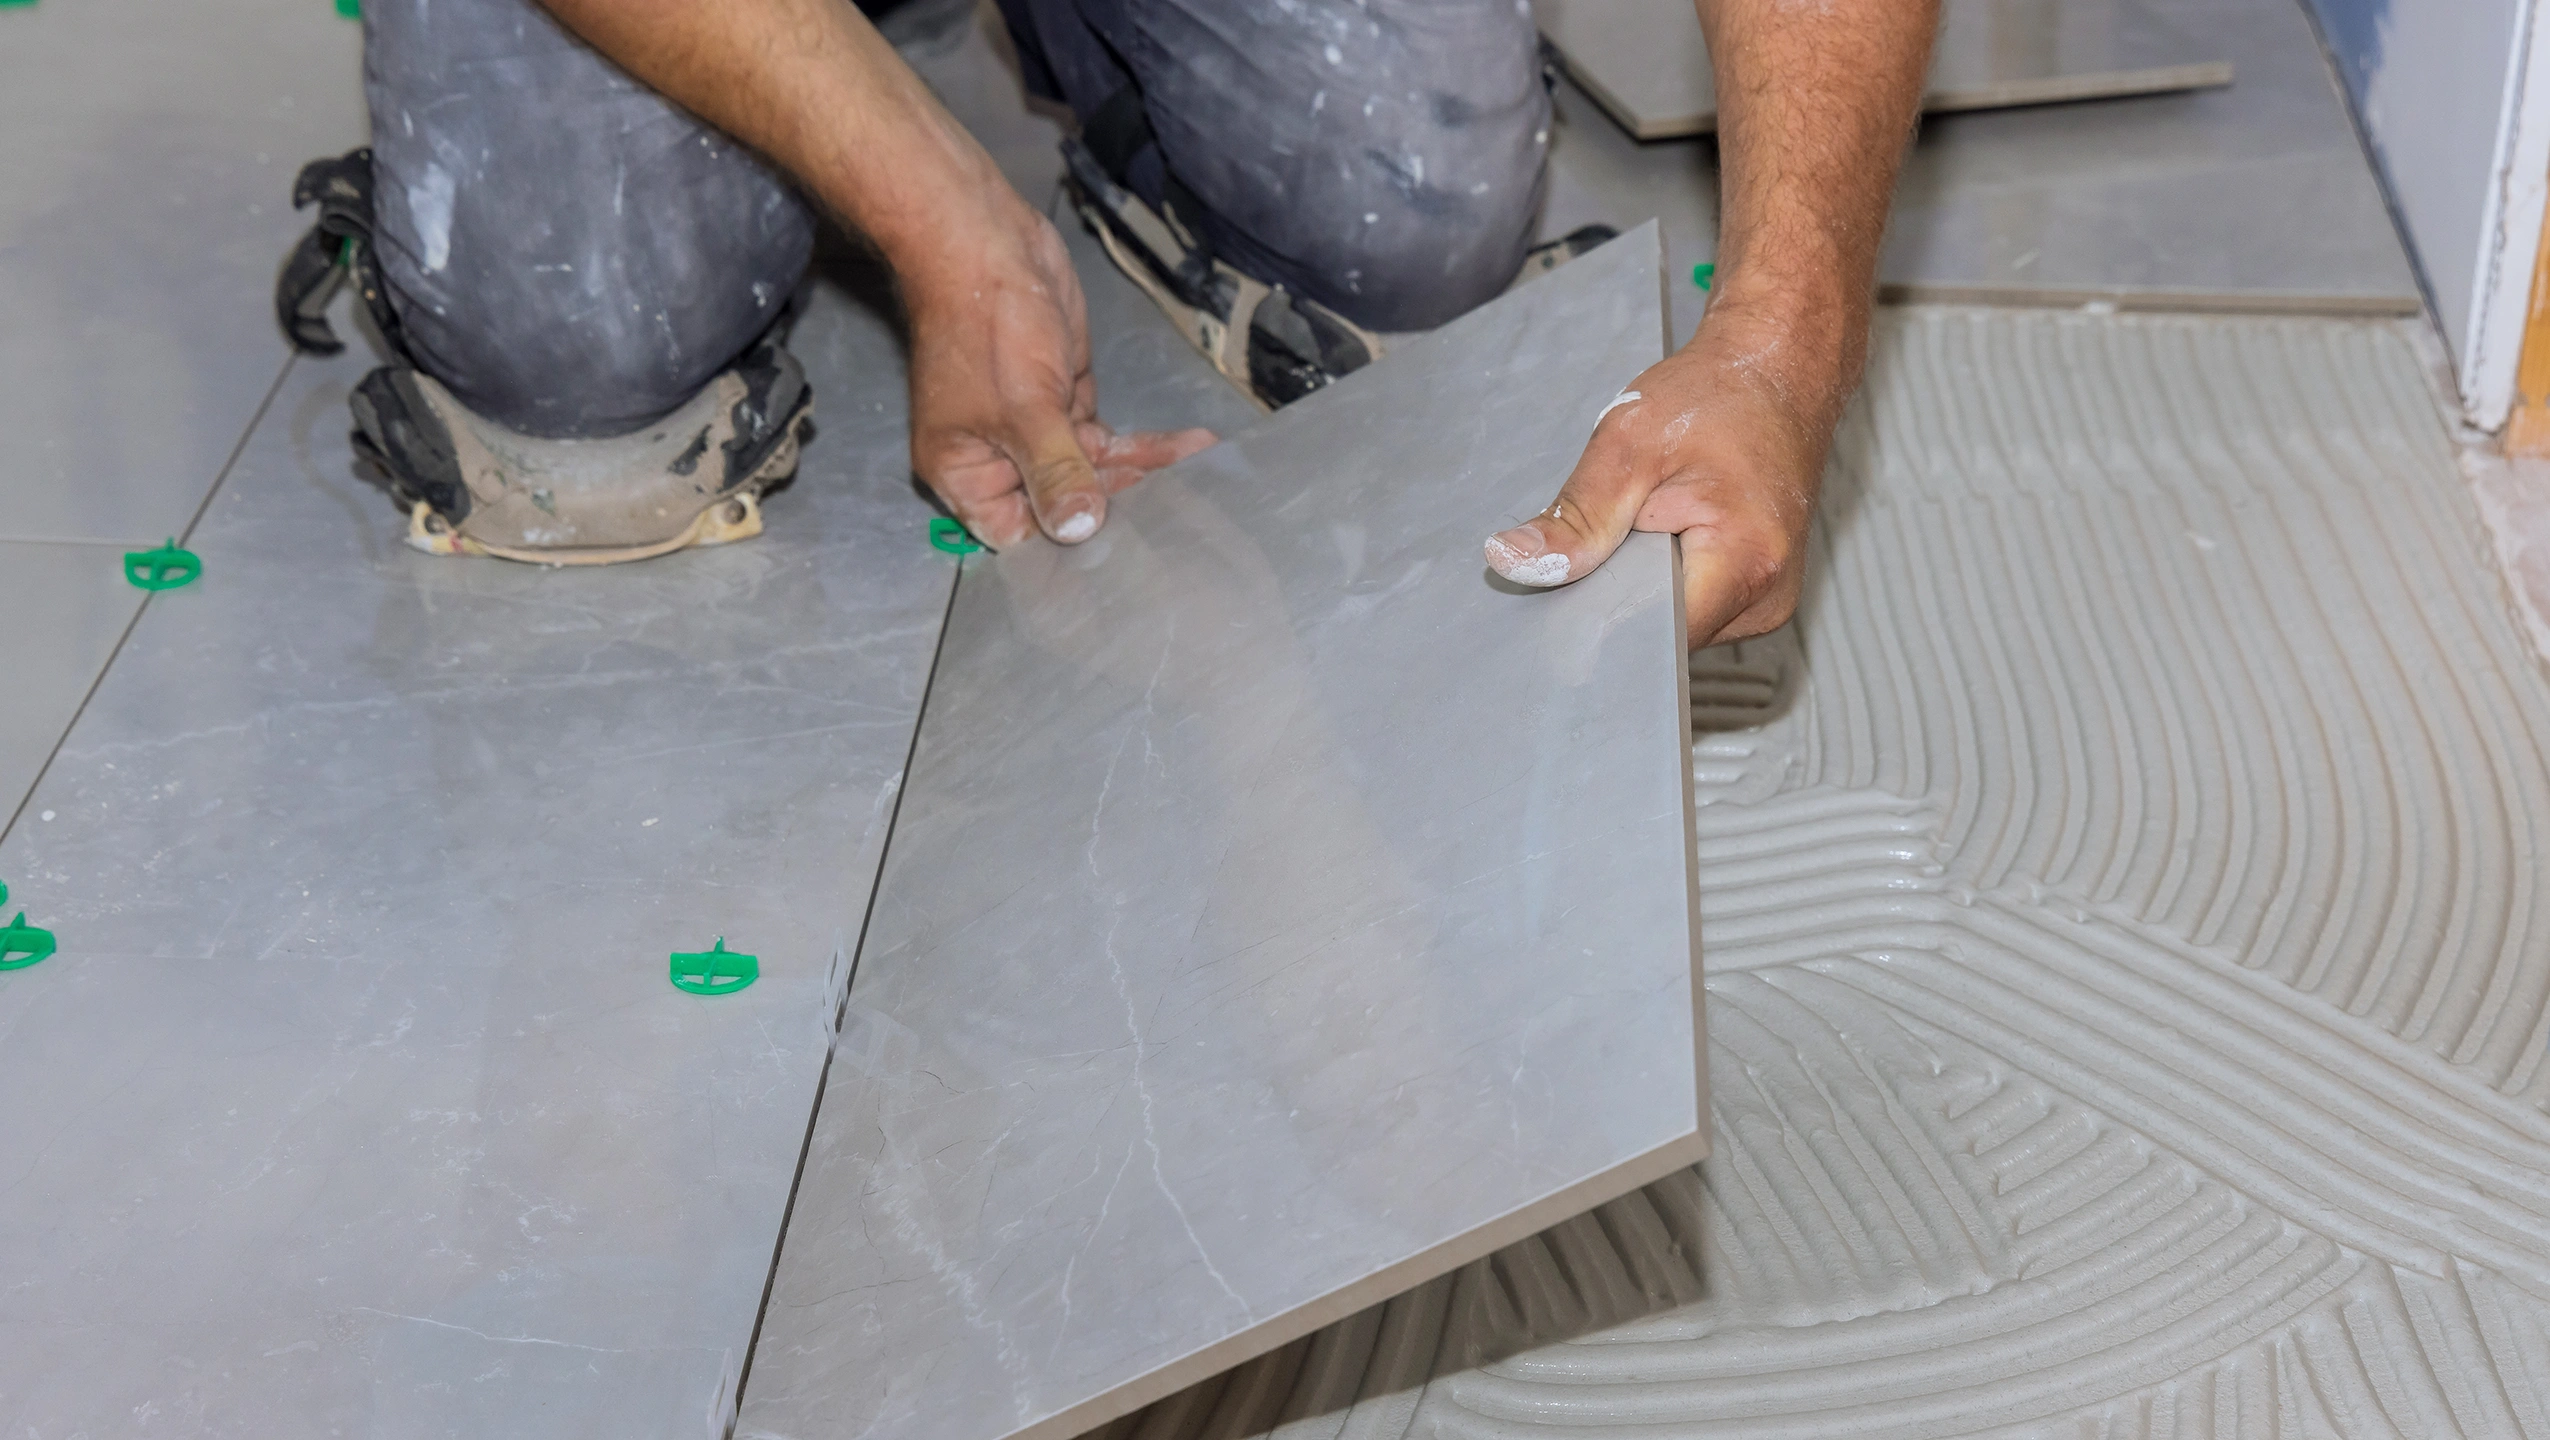
4. Use the Right Adhesive and Level Carefully
Choosing the right adhesive is another important part of granite installation. Use thin-set mortar or a specialized granite adhesive that offers high bonding strength and can withstand heavy loads and temperature changes. After applying the adhesive, gently tap the granite slab using a rubber mallet to remove any trapped air bubbles.
This helps prevent cracks over time due to air pockets. Also, use tools like a straight edge or level to frequently check that each slab is even with the others, ensuring a flat and professional-looking finish.
5. Clean and Apply a Protective Sealant
Once the granite has been installed, finishing touches are vital. Immediately clean off any leftover adhesive or grout haze with a damp sponge or a grout haze remover. Leaving residue too long can result in permanent stains on the granite’s surface.
After the surface is fully dry, apply a granite sealant evenly to protect it from water, oil, and dust, while also enhancing its natural shine. For best results and long-term durability, reapply the sealant every 12 to 24 months, depending on how frequently the area is used.
Installing patterned granite correctly is not only about visual appeal, but also about long-term durability. By mastering the steps—from dry laying and vein alignment to finishing and sealing—you’ll achieve a result that’s both stunning and long-lasting.
To ensure a successful outcome, choosing the right material is equally important. Meliuz Granite offers top-notch quality and durability, delivering not only an elegant appearance but also long-term investment value—helping protect your home in all situations.
Product Popular